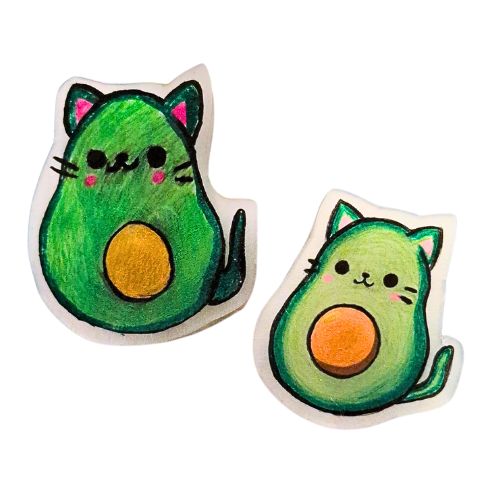
Avo-CAT-O Shrink Art Fridge Magnets
Make your own:
- Preheat oven to 300°F and 350°F (150°C and 175°C).
- On your shrink art paper, find the rougher side and sand it down even more! Wipe away the dust!
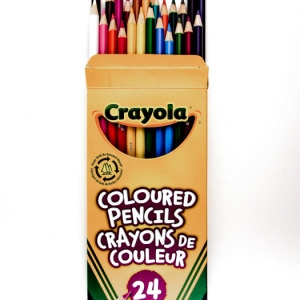
- Place your Shrinky Dink sheet on a flat surface. You can either draw directly onto the rough (sanded) side of the plastic or trace an image. If tracing, place the image under the Shrinky Dink sheet so you can see through it using pencil crayons. (Remember that your design will shrink to about one-third of its original size)
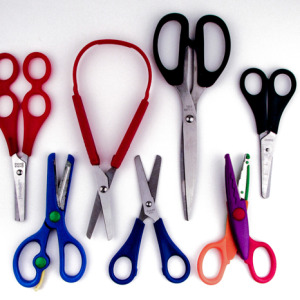
- Using your scissors, carefully cut out your design. Try to make clean cuts.
- Line your baking sheet with parchment paper or aluminum foil. This prevents sticking and makes cleanup easier. Carefully place your cut-out Shrinky Dink designs onto the prepared baking sheet, leaving some space between them.
- Carefully place the baking sheet into the preheated oven. The plastic will start to curl and twist. Don’t worry, this is normal. It will then flatten back out as it shrinks. Once it has fully flattened and stopped shrinking (this usually takes 1-3 minutes, but can vary), it’s done! (Overbaking can cause your Shrinky Dink to become brittle or burn)
- Using oven mitts, carefully remove the hot baking sheet from the oven. (If your Shrinky Dink is slightly warped, immediately flatten with a spatula on top of it for a few seconds while it’s still warm. This will help flatten it out. Let your Shrinky Dink cool completely. It will be rigid and hard once cooled.
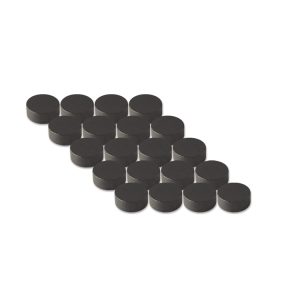
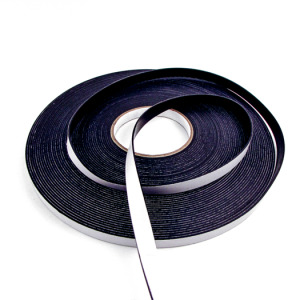
- Using a glue gun, attach a magnet button to the back, or a small piece of magnetic tape to the back.
- Place your adorable magnets on the fridge or anywhere else you’d like to display your work!
- Voila!