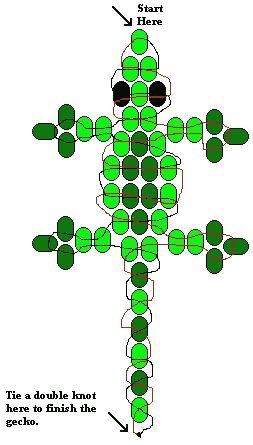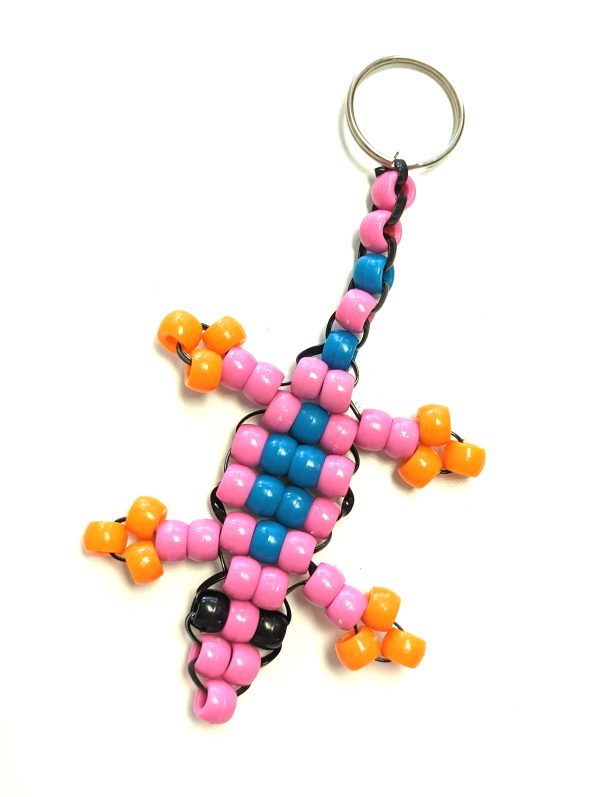
Bead Lizard
Once you get the hang of this you can use this process to create lots of different designs!
Make your own:
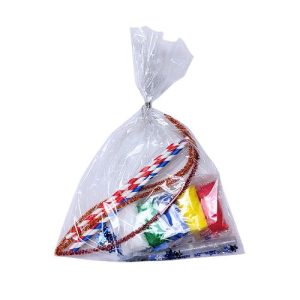
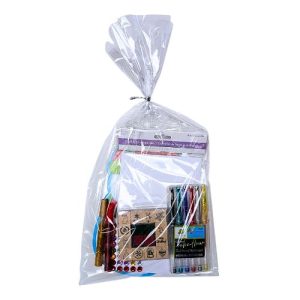
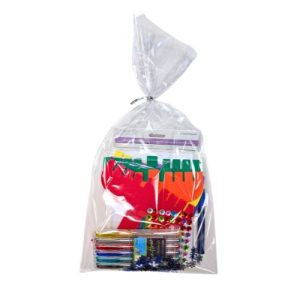
- Cut approximately 3.5 ft of plastic lacing, and prepare your beads colours. You will need to decide the colour of the body, eyes and feet and spot.
- Fold the string in half to find the center, and add a key ring placing it right in the center fold. (For stability and to make it easier as you’re working, you can tape the key ring down to the table or place in a clip board as your working) Make sure that it is clear which string is the right and which is the left.
- Add one bead (the colour of the body) to the left string – and thread the right string through the opposite way. Pull both ends until the bead slides up to the key ring.
- Add 2 beads (the colour of the body) to the left string – and repeat the steps. Thread the right string through the opposite way. Pull both ends until the bead slides up to the 1st bead.
- On the left string, place 1 bead for the eye, 1 bead for the body, and 1 bead for the eye and repeat the process of stringing the right string through the opposite way.
- Add 2 beads (the colour of the body) to the left string – and repeat the process to create the neck.
- Next you will build the legs by adding beads to the left string: 2 beads (colour of the body) and 3 more beads (colour of the feet)
- Thread the left string through the 2 body coloured beads, and shift it close to the body of the lizard creating one leg.
- Repeat steps 7 & 8 on the right string to create the other leg.
- Add 3 beads (the colour of the body, colour of the spot, colour of the body) to the left string, Thread the right string through all 3 beads the opposite way.
- Add 4 beads (1 colour of the body, 2 colour of the spot, 1 colour of the body) to the left string, Thread the right string through all 4 beads the opposite way.
- Repeat step 11.
- Repeat step 10.
- Repeat steps 7 & 8.
- Repeat step 9.
- Repeat step 4.
- Repeat step 3 – 6 times for the tail!
- Remove tape or clipboard, and voila!